SOCIAL MEDIA

2/16/15

Perfectly Loopy - Wrapped Wire Loop Tutorial

I get asked a lot about how I make my wrapped wire loops so circular and consistent.  My OCD not withstanding, I put a tutorial together to show how I do it:

Materials:

Tools:
Flush cutter
Needle-nosed pliers (large & small)
Round-nosed pliers
Nylon jaw pliers
Steel bench block
Chasing hammer


Step 1:

Take your wire and wrap it around your smaller-sized round-nosed pliers.  Make a 90 degree bend in the wire at the base of the pliers.  Begin wrapping the end without the bend around the straight wire end.

Step 2:

Finish your wrapped loop, trying to keep the wire as tight as possible.

Step 3:

Turn your loop upside down and add a bead to your wire.  Hold the link by the finished loop and make a 90 degree bend in the other end of the wire, leaving room for the wraps.

Step 4:

Wrap the wire around the pliers, making sure the bend stays at the bottom of the pliers.

Step 5:

Finish wrapping the loop and trim the excess wire.

Step 6:

Here's what your loops will look like now:  in need of flattening.

Step 7:

Using your old nylon-jawed pliers, gently squeeze each loop until they flatten out evenly with your wraps.


Loops after flattening with the nylon-jawed pliers.

Step 8:

To shape the loops, place the loop on the larger round-nosed pliers.  Using your thumbs, push down on both sides of the wire, stretching the loop into a perfect circle.


Step 9:

Place the loop on a steel bench block and gently flatten the top of the loop with the chasing hammer, then turn it around and flatten the other side.


And there you have it - perfectly loopy loops!
2/7/15

Bella Crafts Creative Team First Blog Post: Copper Wire Butterfly Bracelet Tutorial


Today is my first blog post for the Bella Crafts Creative Team - woo-hoo!  I wrote a tutorial for this copper wire butterfly bracelet, and you can check out the whole story on their blog here.
2/2/15

Versatile Valentine: Abstract Spiral Heart Pendant Tutorial


This simple design for an abstract wire heart pendant frame is so versatile  and fun!  Here's what you need to begin:

From Prima Bead:
16g wire
Flush cutter
Needle-nosed pliers
Round-nosed pliers
Nylon jaw pliers


From your local hardware store:
Two 6" lengths of 3/4" wooden dowels (or 2 large sharpie markers)
Duct tape or packing tape

Step 1:  Cut a 12" length of 16g wire. at approximately 5 1/2", bend wire so that both sides of wire are together.  Make sure the bend is completely together, using your nylon-jaw pliers if you need to squeeze them together.

Step 2:  Using duct tape or packing tape, tape the two dowels together, leaving a small space between the dowels so the wire can get through.  Set the doubled-over wire in between the dowels, bend-end first, making sure the bend fits through the dowels and bend each side of the wire over the dowels (see picture).  This will form the top of the heart.


Step 3:  Starting with the short end of wire, start a spiral using your round-nosed pliers.


Step 4:  Continue to spiral the wire using your nylon-jawed pliers until it fits snugly into the top of the heart.


Step 5:  Approximately 3 1/2" from the bottom of the non-spiraled wire, bend the wire into a "V" shape - this will create the bottom of the heart.  Start a spiral with this end of the wire in the direction of the "V".


Step 6:  Continue to spiral the wire using your nylon-jawed pliers until it fits snugly into the "V".


Voila!  You're finished!  Just add a jump ring to the non-spiraled side of the heart and hang it on your favorite chain or cord!  You can also try adding beads or more wire to the frame, using a heavier gauge wire, hammering the wire for texture, heating the wire for color, or anything else you can think of!

Have fun, and let me know if you try this technique - I'd love to see your designs!
1/26/15

Wire: An Addict's Confession


Hello my name is Molly and I am addicted to wire. All types of wire: copper, silver, colored, oxidized, shiny - you name it and I've worked with it and probably have it in my stash.

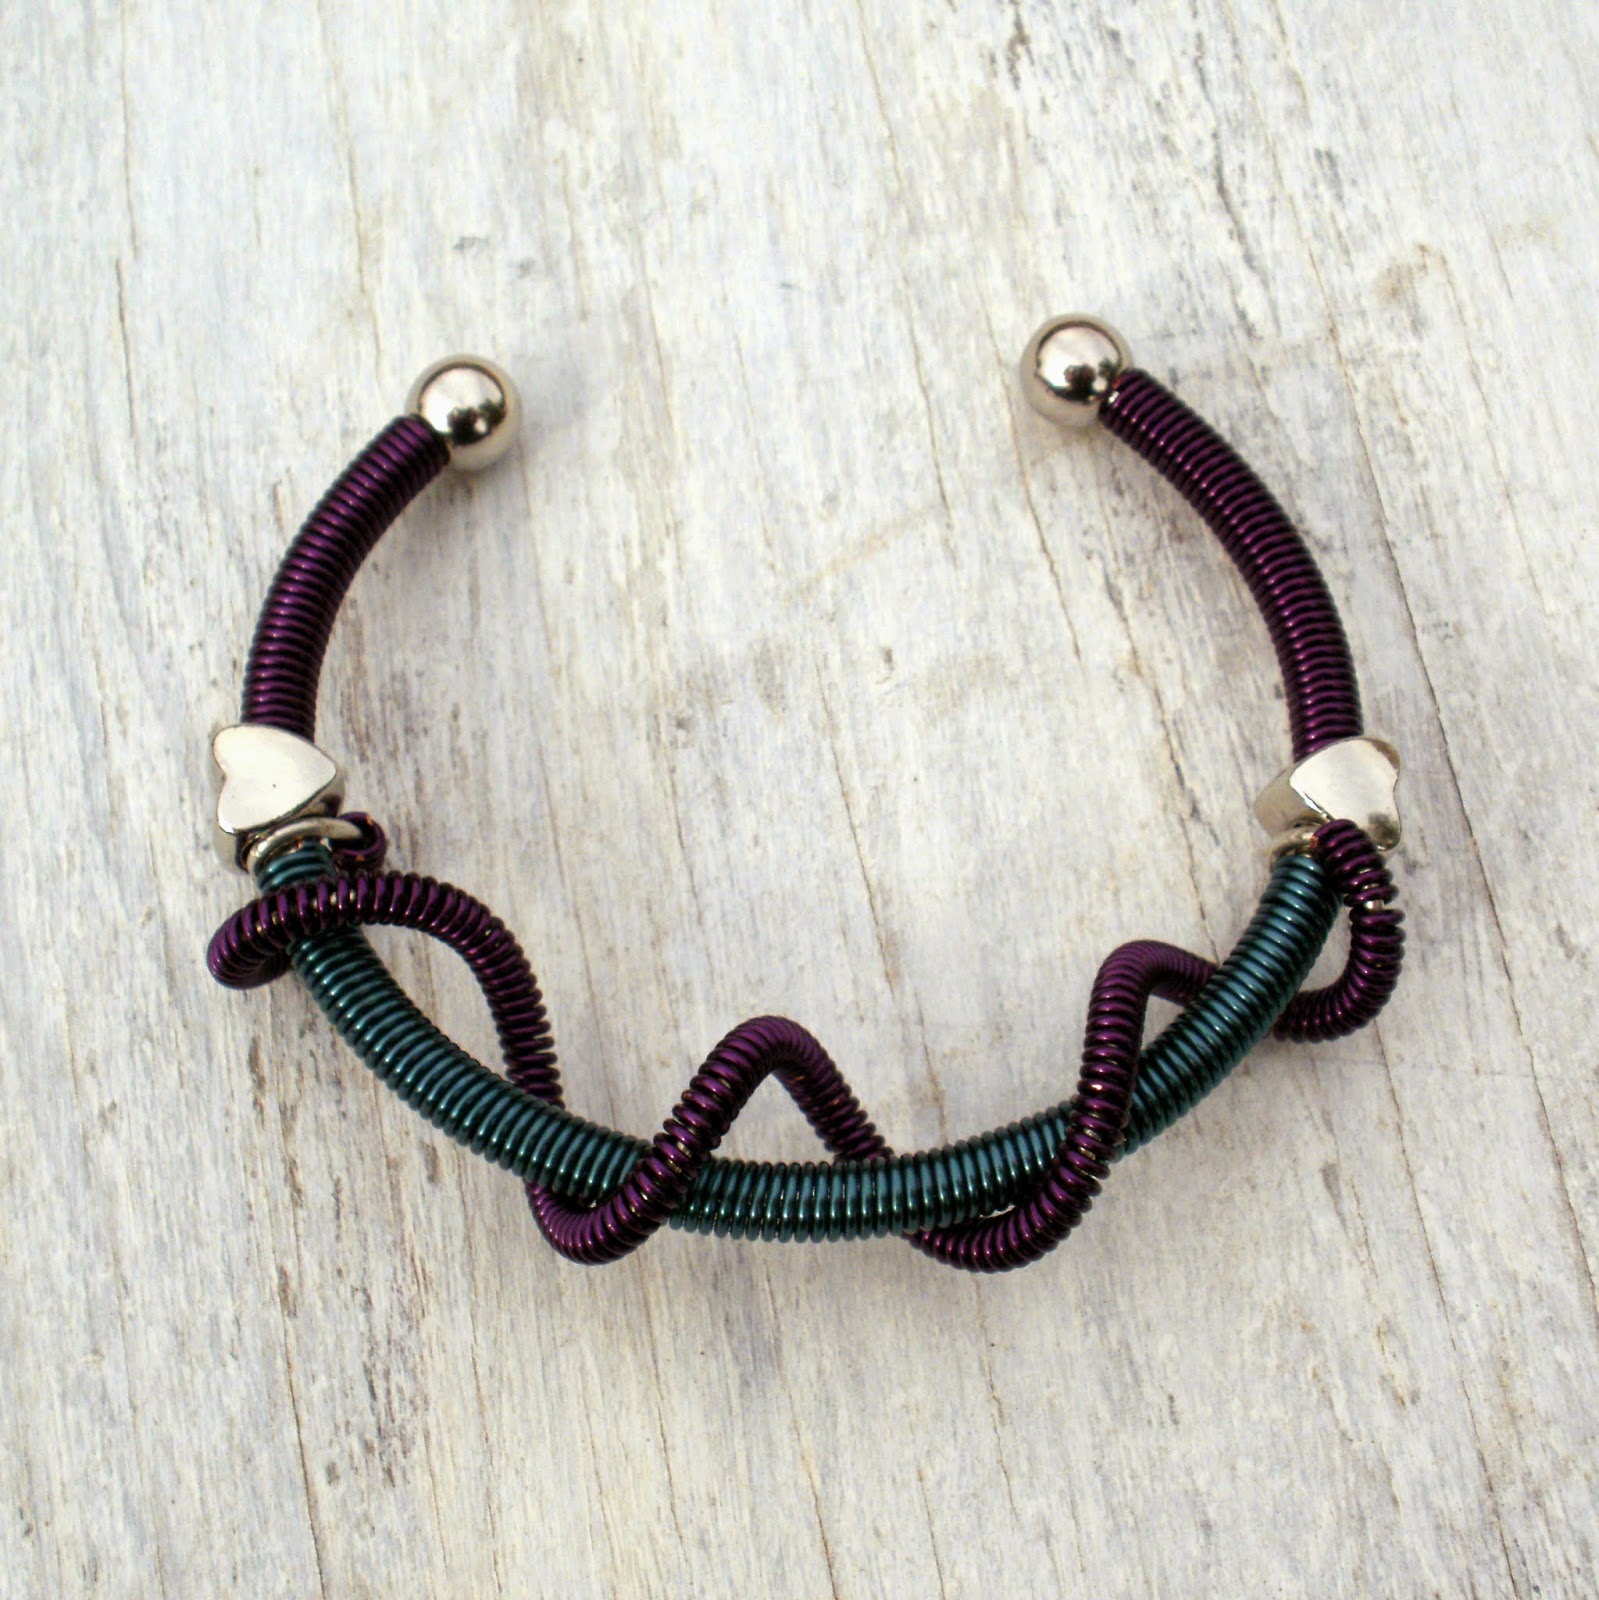
The new wire colors and tools that have come out in the past few years have made working with wire even more fun and accessible to the masses.  In fact, I made this bracelet with just a few supplies and a fantastic book, Totally Twisted by Kerry Bogert.

Here are the supplies I used:


Prima Bead has other tools to help you expand your wire-working skills:


And one of my favorite wire coiling tools, the Coiling Gizmo.

I hope you have as much fun playing with wire as I do!  For even more wire supplies, check out Prima Bead's selection!